
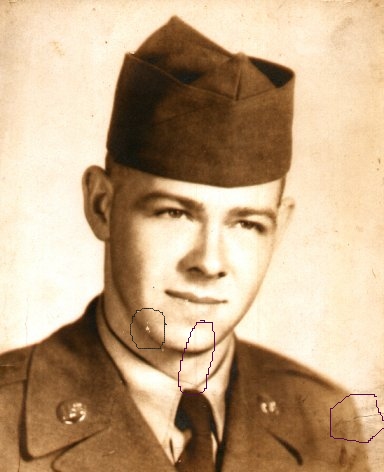
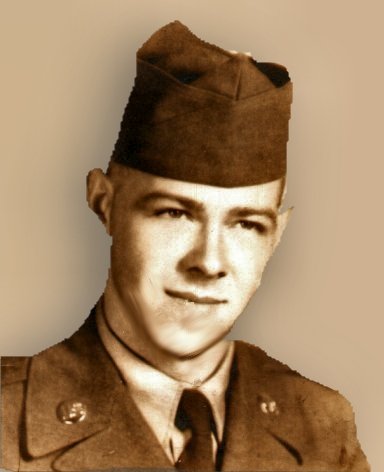
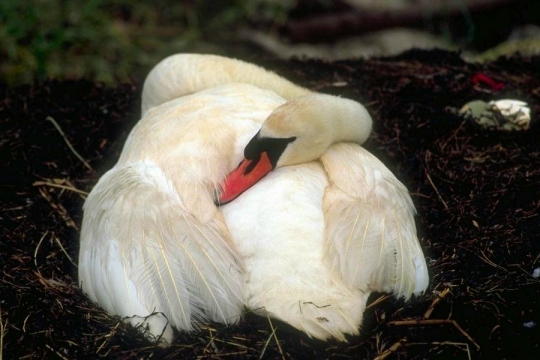
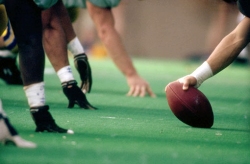
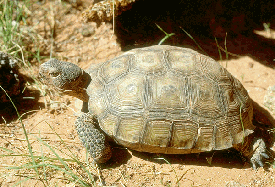
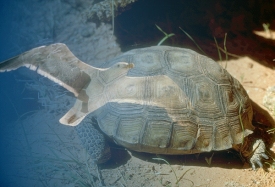
Working with Photo Correction-General Adjustments experiencing understanding the Histogram! The photo to the right is the origial image, and the photo to the left is finish image.
I created this assignment for fun and experience! From a photo that needed help!

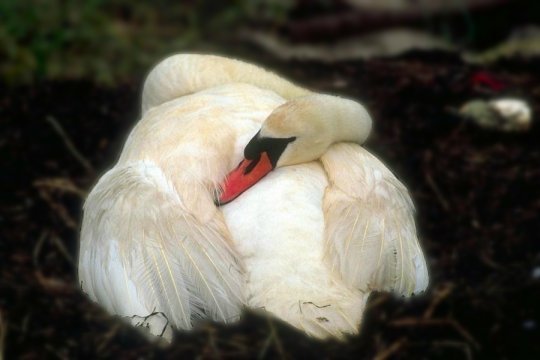
PSP7 Phot Enhancing: Photo Correction-General Adjustments. The Manual Enchancment Features. The original photo is to the right the finished photo is to the right!


PSP7 Photo Enhancing: Photo correction-General Adjustments. The Manual Enhancement Features. The Original to the right and the finish enhancement to the left.
PSP7 Photo Enhancing:Photo Correction-General Adjustments. The Manual Enhancement Features.

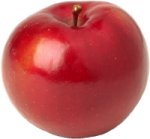
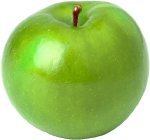
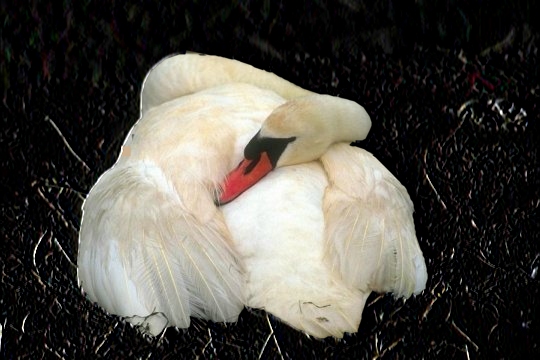
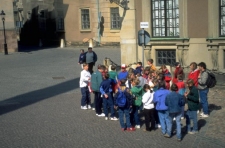
PSP7Photo Enchancing: Photo correction-General Adjustments The Manual Enhancement Features. Look from red to green!
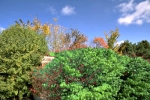
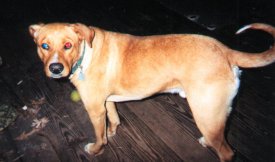
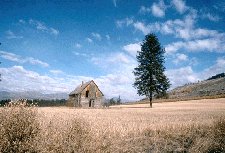
PSP7 Photo Enhancing:Photo Correction-General Adjustments the manual enhancement features. Please notice the tree on the left of the left photo, and then compare the tree to the right you know there is a diffence!

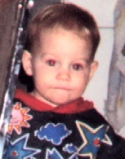
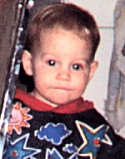
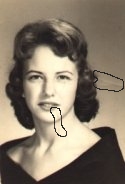
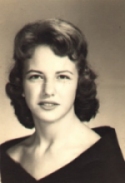
PSP7Photo Enhancing: Photo Correction-General Adjustments the manuel enhancement features.The yellow discoloring has been corrected!


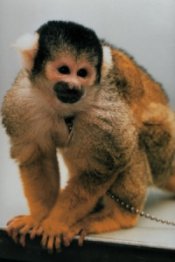
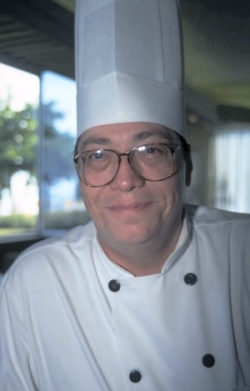
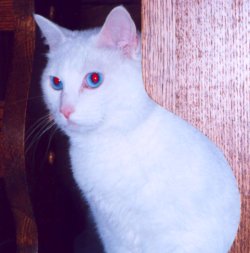
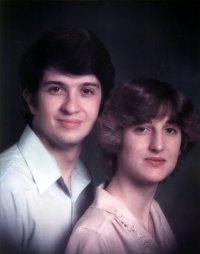
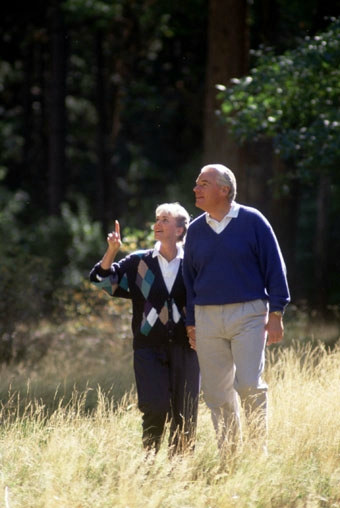
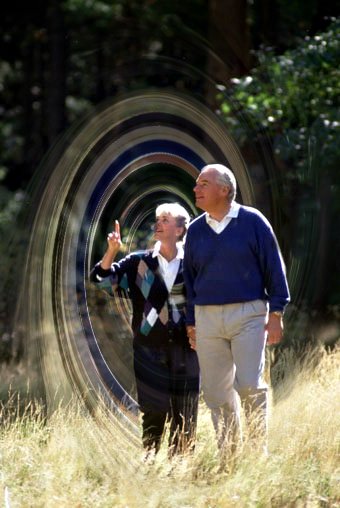
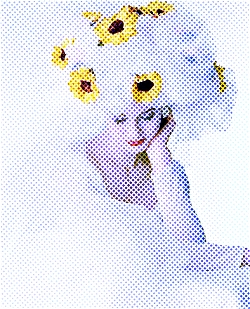
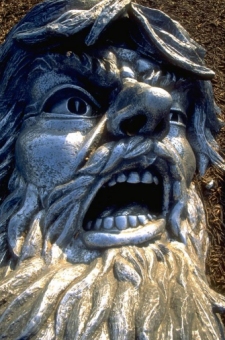
PSP7Enhancing:Photo correction-correcting image defects! Defect in the image features.Red eye photo to right and completed photo to the left!


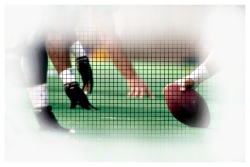
PSP7Photo enhancing: Photo Correction -correcting image defects. Defects in the image features.


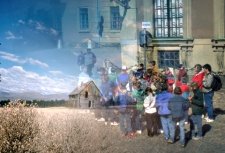
PSP7 Photo Enchancing: Photography-Fun sturff imaging techniques


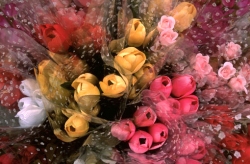
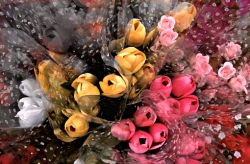

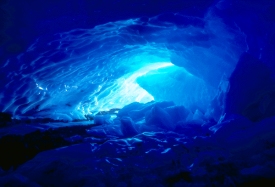
PSP7Photo Enchancing: Photography-Masks imaging technoques


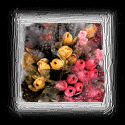
Imaging techniques using image border masks you can created all kinds of artisy frames. Here is an example check it out!


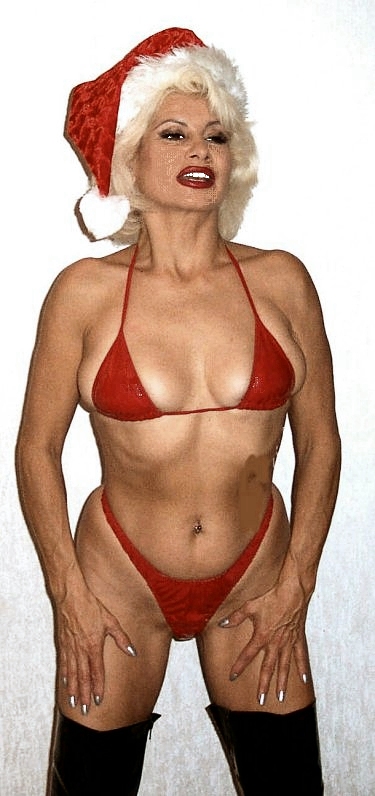
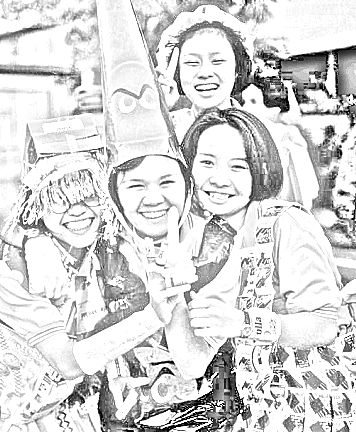
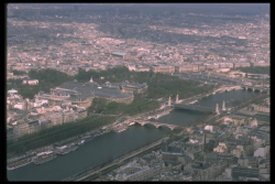
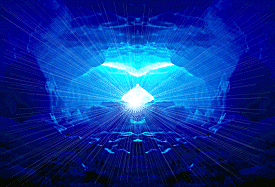
PSP7 Photo Enhancing: Photography-FINAL EXAM Imaging Techniques
In this final project creating a mask

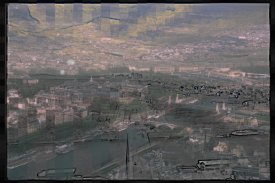
Yes, this was one of my better ones. I felt creating a Fantasy Image by using the Effects Menu
©2002-2012 Yvonne Fimbres
All rights reserved
Review comment page